Syinstruktionerna till mönstret för en kjol i tyg utan stretch:
- beskrivning av syinstruktionernas innehåll,
- exempel på var du kan lägga in dragkedjor,
- att klipper ut mönstret,
- att sy ihop kjolen och sätta in dragkedjor,
- att sy linning för kjol med en dragkedja,
- linning för en kjol med två dragkedjor.
Att klippa ut mönstret
Kom ihåg att tyg utan stretch formar sig annorlunda efter kroppen. Därför råder vi dig att sy kjolen i en något större storlek. När du lägger ut pappersmönstret på tyget kom ihåg att lägga till sömsmån innan du klipper. Vi brukar lägga till 1cm till alla kanter och 2,5-3cm till fållen. 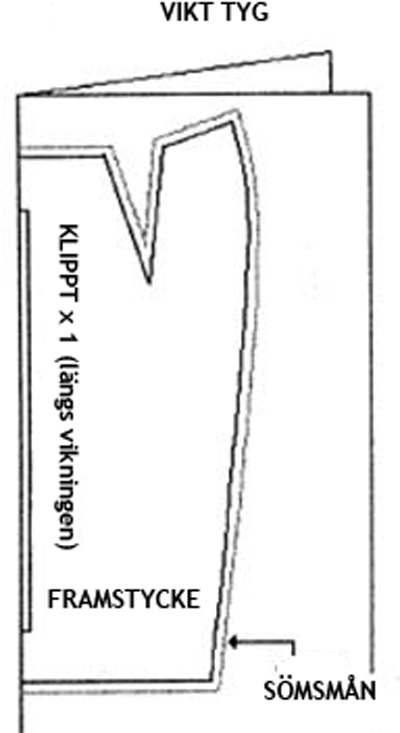
Om du har valt att placera dragkedjan i en existerande söm, så kommer framstycket på din kjol att klippas i ett stycke. Du klipper detta genom att placera mönsterdelen mot den vikta kanten på tyget (så att detta ligger dubbelt).
Till en kjol med en dragkedja i framstycket kommer du att ha två olika mönsterdelar. Du behöver klippa en tygdel av varje och du klipper dem därför på ovikt, enkelt tyg. 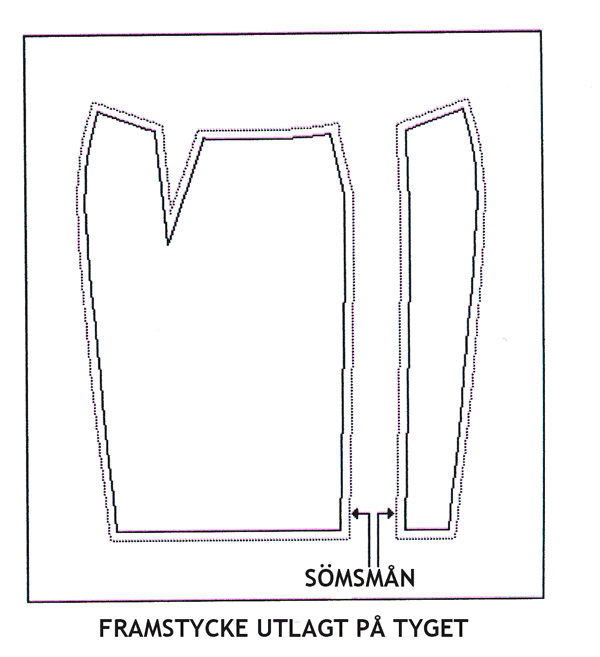
Till en kjol med två dragkedjor i framstycket kommer du att klippa tre tygbitar. Delen i mitten (mittenpanelen) kan klippas med tygvikningen på samma sätt som kjolmönstret med ett helt framstycke. De två sidosektionerna kan du klippa genom att lägga mönsterdelen bredvid mittenpanelen på det här sättet. 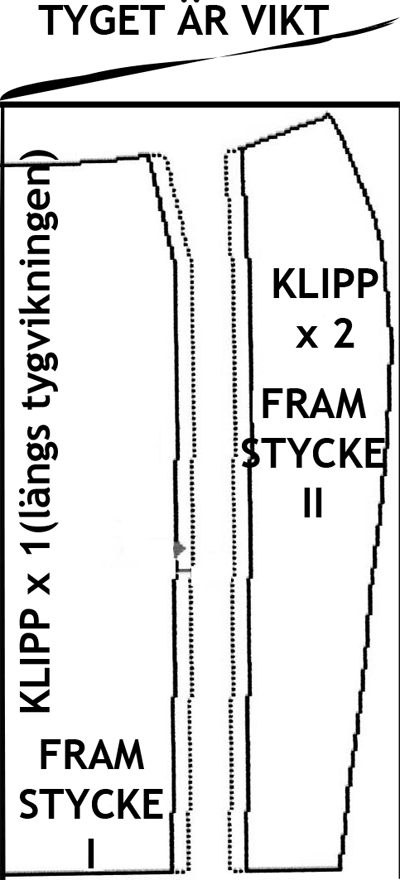
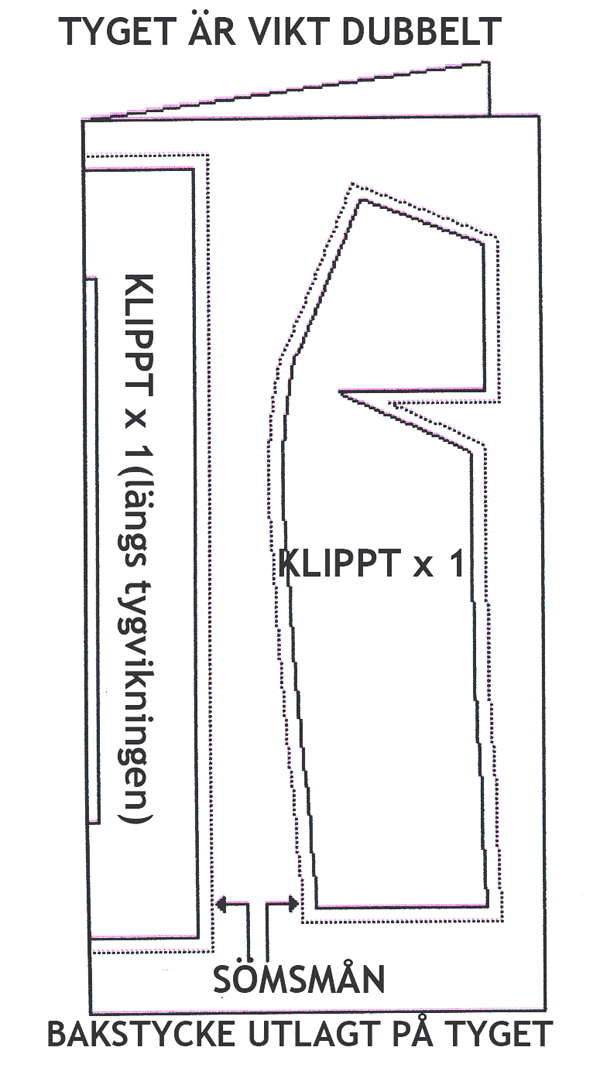
Till bakstycket behöver du två sidosektioner och en mittenpanel. Placera mönsterdelarna på ett vikt tyg och klipp ut (samma som framstycke delat i tre delar).
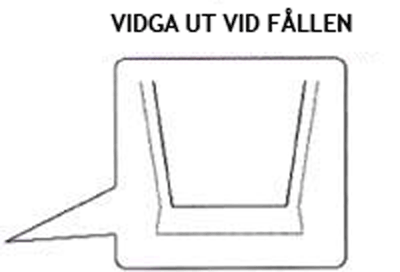
Märk att du inte ska fortsätta minska vidden i sömsmånen vid fållen, utan vidga den istället.